
Over the past year, AI has significantly impacted the technology community, notably within Software Engineering. However, its integration isn’t ubiquitous across all development tasks. Take, for example, the creation of a straightforward WeatherView, as discussed in this article. While working on this SwiftUI View, I had to manually configure Xcode capabilities and set up App Store Connect. Additionally, I relied on frameworks like WeatherKit and CoreLocation, demonstrating that despite AI advancements, certain development aspects still require manual configuration and the utilization of specific libraries and tools.
Below you will find the setup involved in adding WeatherKit to your app.
Steps
- In Xcode, navigate to Targets > Your App Name.
- Select the “Signing & Capabilities” tab.
- Search and add WeatherKit.
- Log in to your developer account and navigate to App Store Connect.
- Select Certificates and locate your App ID.
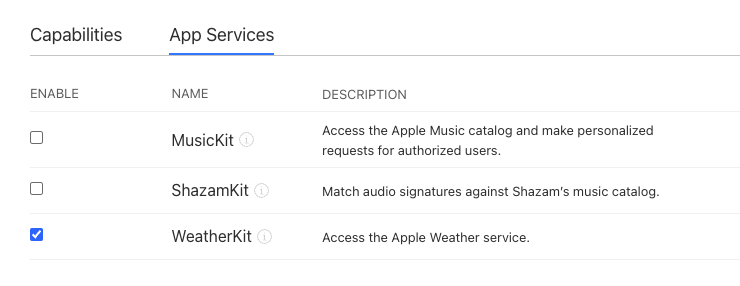
- Ensure you add WeatherKit to the “Capabilities” and “App Services” tabs.
If all is configured as above then you are now ready to import WeatherKit and use it in your app. 😎
import WeatherKit
import CoreLocation

// Code must be within an `async` block
let weather = try await service.weather(for: location)

